
Last updated October 30, 2026
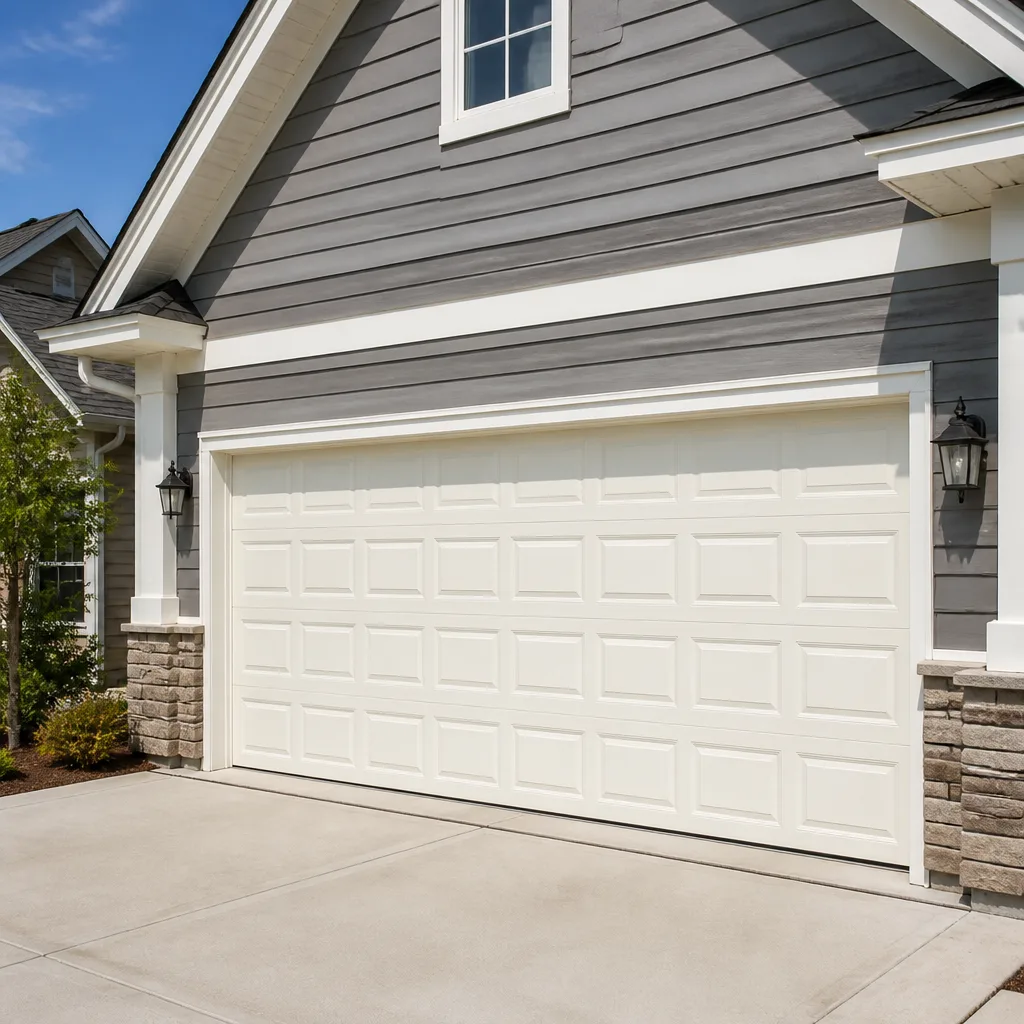 Raised-panel steel
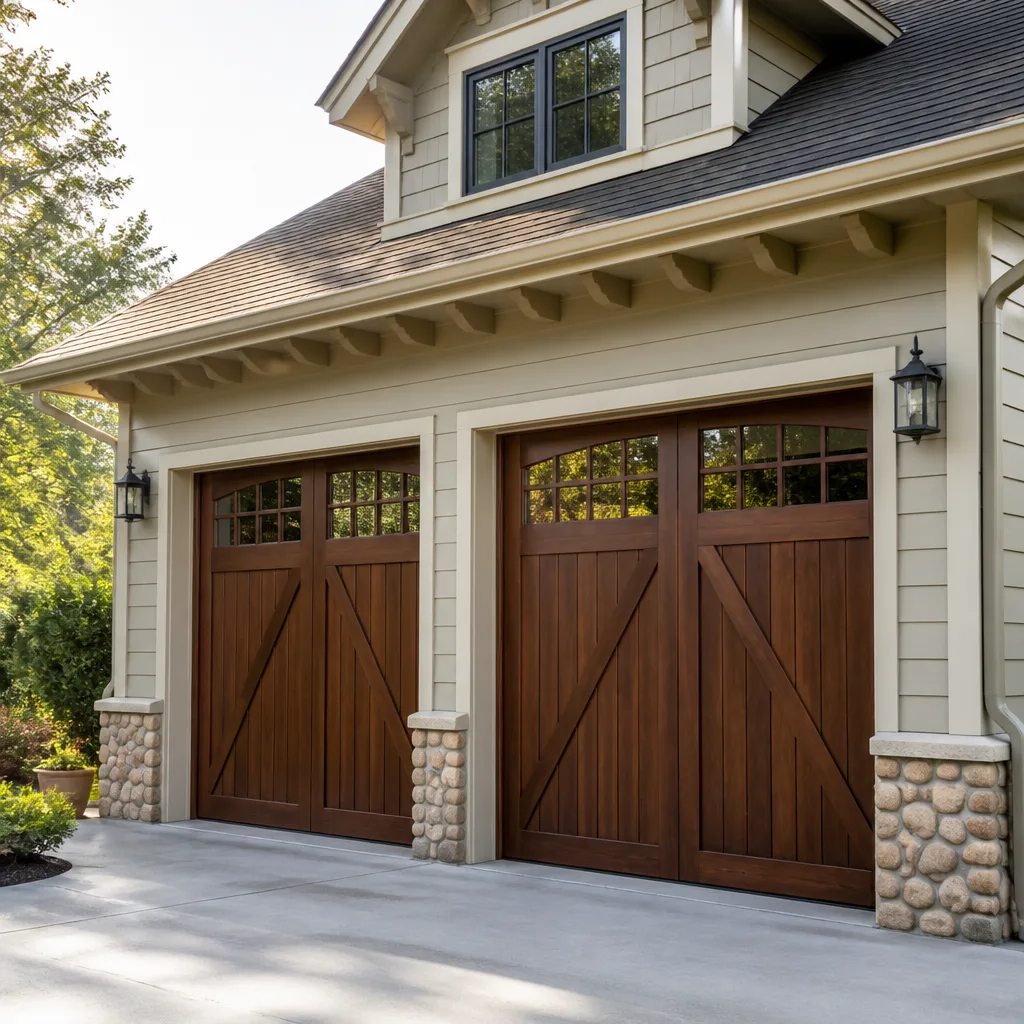 Carriage house
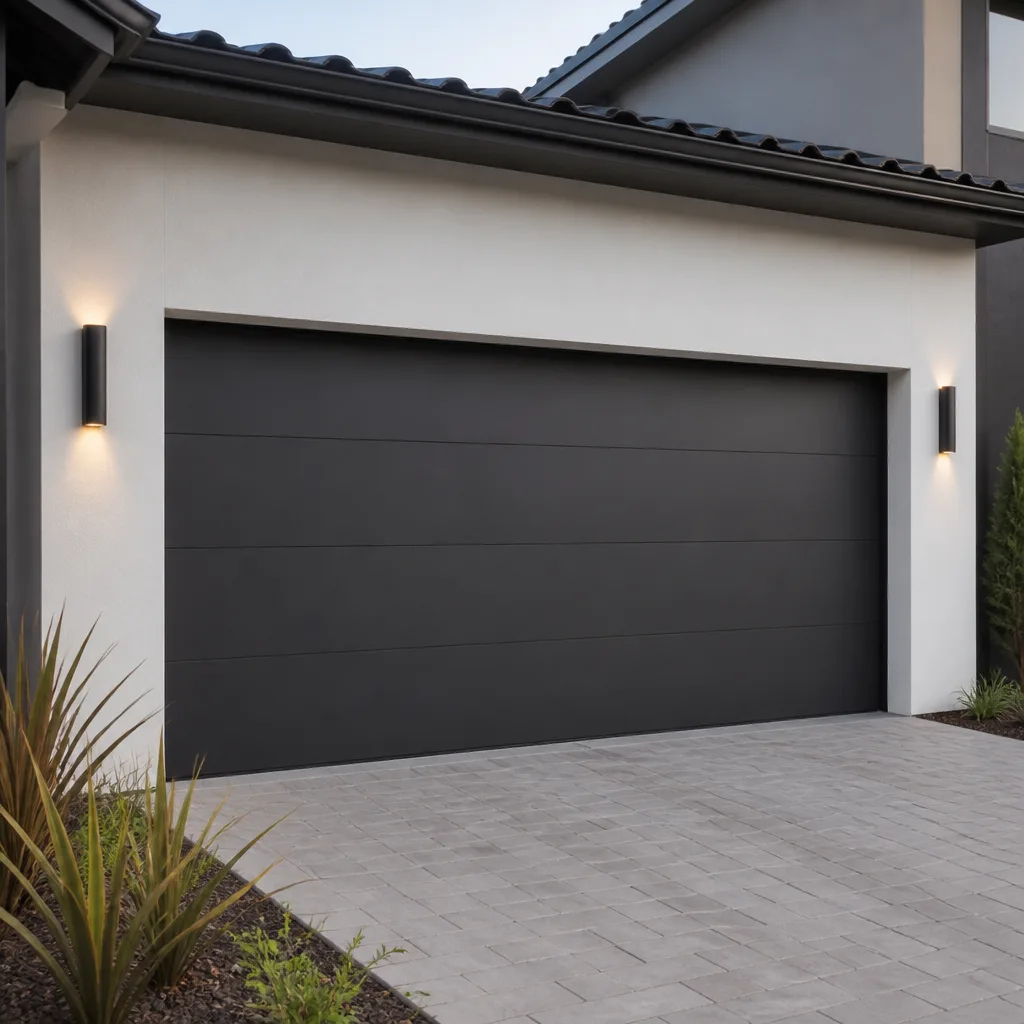 Modern flush
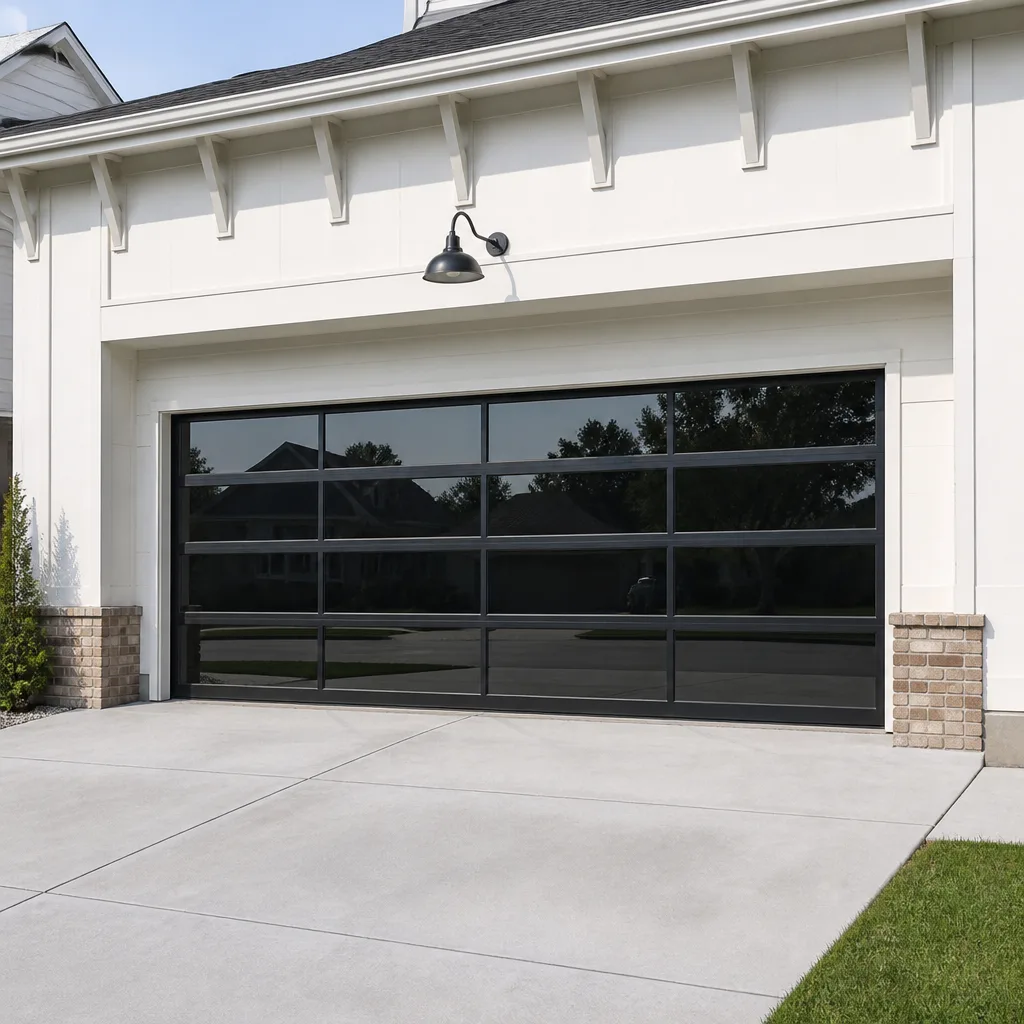 Full-view glass
 LiftMaster openers
 Chamberlain openers
Full 25-point door and opener safety check with every visit - springs, cables, rollers, tracks, and your LiftMaster or Chamberlain opener included
You get a price before we start. It does not change when the truck arrives.
Get your free estimateGarage Door Repair Troubleshooting: Common Problems and How to Fix Them
Here’s something most troubleshooting guides won’t tell you: a grinding noise when your door goes up is often a completely different problem than a grinding noise when the door comes down. Up-grind usually points to the opener’s drive gear stripping out. Down-grind is typically the torsion spring binding or a roller seizing in the track. Treat both the same way and you replace parts that weren’t broken while the real issue gets worse. This guide works backward from what you’re seeing and hearing to isolate the exact component behind it, so by the time you pick up the phone or open your toolbox, you already know what you’re dealing with. We’re writing from Huntington Beach, where salt air and daily door cycles create a specific set of failure patterns, but the diagnostic method applies to any residential garage door anywhere.
Quick Answer
Garage door troubleshooting starts with identifying the exact symptom: a door that won’t open, reverses mid-travel, makes noise in one direction, sags on one side, or has a dead remote. Most problems trace to one of four components: springs, rollers, opener controls, or the electrical circuit. The three-part manual operation test below isolates which system is failing in under five minutes, and from there you’ll know whether it’s a safe temporary fix or a call to our Garage Door Repair services in Huntington Beach.
Styles & brands we work with
Table of Contents
- The Symptom-First Index: Match What You See and Hear to the Likely Cause
- How to Read Opener Blink Codes on LiftMaster, Chamberlain, Genie, and Craftsman
- The Three-Part Manual Operation Test That Isolates the Problem
- Safe Temporary Fixes vs. Fixes That Make It More Expensive
- Spring Problems: What the Sound and Sag Are Telling You
- Opener Problems: When the Motor Runs But the Door Won’t Move
- The Photo Checklist: What to Document Before You Call a Repair Company
The Symptom-First Index: Match What You See and Hear to the Likely Cause
Most troubleshooting guides organize by component: springs, cables, opener, remote. That’s backward. Homeowners don’t experience a “spring failure.” They experience a loud bang from the garage, or a door that suddenly feels like it weighs 300 pounds, or a door that climbs halfway and stalls. So we’ll start with what you actually notice and work backward to the component.
Sound Symptoms
- Squealing while moving, both directions: Dry rollers or a dry torsion spring. In Huntington Beach, salt-laden air accelerates corrosion on metal rollers and springs, stripping lubrication faster than inland. A silicone-based lubricant on metal rollers quiets this temporarily. Nylon rollers that squeak are usually worn past the bearing and need replacement, not lube.
- Grinding only when opening: The opener’s drive gear is shedding teeth. This is common on chain-drive LiftMaster and Craftsman units after 7-10 years of daily use. The plastic gear inside the opener housing wears against the worm drive and eventually strips. The door may still open for weeks with a granular, crunching sound, then quit entirely.
- Grinding only when closing: The torsion spring is binding, or a roller has seized inside the track. A bound spring makes a metallic scrape as the coil shifts under tension. A seized roller drags along the track and sounds like metal on metal. Both get louder as the door nears the fully closed position.
- Loud bang from the garage, followed by the door not moving: A torsion spring snapped. This is the single most common sudden failure we see in Huntington Beach homes, and it almost always happens with the door closed. The released tension sounds like a firecracker or a car backfiring inside the garage.
- Rattling when the door moves: Loose hinge bolts, a loose opener chain, or panels that have worked free of their brackets. On Wayne Dalton doors with the TorqueMaster spring system, a rattle near the spring tube often indicates internal wear that the homeowner can’t see.
Movement Symptoms
- Door reverses immediately after touching the floor: The close-force setting is too sensitive, or the safety sensors are misaligned. In coastal humidity, sensor lenses collect a fine film of salt and moisture that diffuses the infrared beam. Wiping them with a dry microfiber cloth fixes more “reversing door” calls in Huntington Beach than any mechanical repair.
- Door reverses halfway up: The opener thinks it’s hitting an obstruction. Usually the up-force limit has drifted, or a spring has lost tension and the opener can’t handle the full weight of the door. If the door is heavy to lift manually, the problem is spring tension, not the opener.
- Door opens unevenly or sags on one side: A cable has slipped or frayed on one side, or a spring has weakened asymmetrically. This puts uneven strain on the remaining cable and will eventually pull the door apart if ignored.
- Door opens a few inches and stops: Classic sign of a broken or badly fatigued spring. The opener’s force limit kicks in as soon as it feels the full, unsprung weight of the door. If you don’t hear the opener strain, the opener itself may have a failing capacitor.
- Door closes too fast and slams: Cable slip or a spring that has lost tension on one side. The door is essentially in partial freefall. This is dangerous enough that you should pull the emergency release and call someone before using the door again.
Remote and Wall Button Symptoms
- Wall button works, remote doesn’t: Remote battery, remote programming, or a bad remote. The wall button bypasses the radio receiver entirely, so if it works, the opener’s motor and logic board are fine.
- Remote works, wall button doesn’t: The wall button’s wiring to the opener has a short or break. This is more common than people think in Huntington Beach garages where the wiring runs along an outside wall exposed to moisture.
- Neither works, but the opener has power: A tripped GFCI outlet, a blown fuse on the opener’s circuit board, or a locked-out opener. Most LiftMaster and Chamberlain units have a lock mode that disables all remotes; holding the lock button on the wall console for two seconds toggles it.
- Opener light flashes but nothing moves: On LiftMaster and Chamberlain openers, this is a diagnostic blink code, not a random flicker. Count the flashes. Six flashes means a bad logic board. Five means the RPM sensor isn’t seeing the motor turn. Each number points somewhere specific.
How to Read Opener Blink Codes on LiftMaster, Chamberlain, Genie, and Craftsman
If your opener has an LED indicator on the motor housing or the wall button, and it’s blinking in a pattern, it’s not malfunctioning. It’s talking to you. Every major brand uses a blink code system to report diagnostic information, and reading it correctly saves a service trip or at least gives you an accurate description to share over the phone.
Here’s how the codes work on the four brands we see most often in Huntington Beach garages, including older Craftsman units that are still running after 20-plus years.
LiftMaster and Chamberlain (same parent company, shared codes)
- 1 blink: Safety sensor wires are shorted or reversed. Check the wiring at the opener terminals.
- 2 blinks: Safety sensor beam is blocked, misaligned, or lenses are dirty. In coastal humidity, clean the lenses first.
- 3 blinks: Door force sensor tripped. The door hit something or the springs need attention.
- 4 blinks: Safety sensor signal is intermittent. Usually a loose wire or a flaky connection.
- 5 blinks: Motor overheated or RPM sensor failure. Let it cool, then retry. If it repeats, the motor may be on its way out.
- 6 blinks: Logic board failure. The opener needs a new board or a new opener.
Genie
- Red light blinking on the powerhead: Count the blinks between pauses. One blink means a limit switch issue. Two blinks indicate a sensor obstruction. Three blinks point to a force setting issue. Four blinks usually means the door was manually released and needs to be reconnected to the carriage.
- Green light blinking on the wall console: The opener is in vacation lock mode or the door is disconnected from the opener.
Craftsman (legacy units, still widely installed)
- Most Craftsman openers from the 1990s and 2000s use the same blink codes as LiftMaster and Chamberlain, since they were built on the same platform. If your Craftsman flashes once and refuses to close, check the sensors first. If it flashes five times, the motor capacitor or RPM sensor is failing.
One caution: a blinking light on the wall button can also mean the opener’s battery backup (if installed) is charging or failing. On LiftMaster models with battery backup, a yellow blinking light on the door opener itself usually means the battery is low and needs replacement.
The Three-Part Manual Operation Test That Isolates the Problem
This test separates the door hardware from the opener from the electrical circuit. It takes about five minutes and tells you exactly which system to focus on. We use the same isolation method on every service call in Huntington Beach, because it prevents guesswork.
Note on safety before starting: Garage doors under spring tension store enough energy to cause serious injury. If your door has a broken spring, a frayed cable, or visible damage to the hardware, do not attempt to lift it manually. A door with a snapped torsion spring can weigh 150 to 400 pounds and will fall if not properly supported. The manual test below is only for doors that appear intact.
- Pull the emergency release cord. This is the red cord hanging from the opener rail. Pull straight down and back toward the garage door. You’ll hear a click as the carriage disengages from the opener. The door should now move freely by hand.
- Lift the door manually to waist height and let go. A properly balanced door will stay put or drift very slightly. If it slams down, the springs are weak or broken. If it shoots up, the springs are overwound. If it’s significantly heavier on one side, you have a cable or spring asymmetry issue. This test isolates the door hardware from the opener.
- Reconnect the carriage and test the opener with the door in manual mode. Press the wall button. If the opener motor runs and the carriage moves smoothly along the rail without the door attached, the opener is functioning and the problem is in the door hardware. If the opener hums but doesn’t move, the motor capacitor, drive gear, or logic board is failing. If nothing happens at all, check the outlet and the circuit breaker, then look for blink codes.
Here’s the key insight from this test: most homeowners in Huntington Beach assume a door that won’t open is an opener problem. More often, it’s a spring problem the opener is correctly refusing to muscle through. The manual test tells you which story you’re in.
Safe Temporary Fixes vs. Fixes That Make It More Expensive
Some problems have safe, legitimate temporary fixes that hold until a technician arrives. Others have “fixes” that seem intuitive but actually worsen the damage and raise the repair bill. The difference matters.
Safe Temporary Fixes
- Lubricating squeaky metal rollers with silicone spray: Clean the roller with a dry rag first, then apply lubricant sparingly. Avoid WD-40; it displaces moisture but doesn’t provide lasting lubrication for metal-on-metal wear surfaces.
- Wiping safety sensor lenses with a dry microfiber cloth: In Huntington Beach’s coastal environment, sensors collect salt film that blocks the beam. A 30-second wipe restores function. Don’t use water or glass cleaner on the lenses; both can leave residue.
- Replacing the remote battery: If the wall button works and the remote doesn’t, a dead coin-cell battery is the cause more than half the time. Use the battery type printed inside the remote housing.
- Clearing small debris from the track with a vacuum or dry cloth: Leaves, sand, and small pebbles can wedge between the roller and the track. Remove loose material gently. Don’t pry with screwdrivers; you’ll bend the track.
- Reprogramming a remote that lost its code after a power surge: Most modern openers have a simple learn-button sequence. The instructions are printed on the opener panel or available from the brand’s website.
Fixes That Make It More Expensive
- Spraying lubricant on a snapped or frayed cable: Lubricant hides the noise temporarily but does nothing for the structural integrity. A frayed cable under tension can snap completely, and the door will drop. This turns a $150 cable replacement into a much larger repair.
- Forcing the opener to lift a door with a weak spring: Some homeowners adjust the opener’s force limit upward so it “powers through” the imbalance. This burns out the opener motor and can strip the drive gear, adding an opener replacement to a spring repair.
- Bending safety sensor brackets to “fix” alignment: A small bend creates a bigger alignment problem, and the sensor’s internal mount may crack. The correct fix is loosening the bracket screws and adjusting, not bending metal.
- Removing a broken spring entirely and continuing to use the door manually: A door with no counterbalance spring is a falling hazard. Even in manual mode, lifting and lowering a 200-pound door by hand puts you at risk of a crush injury. This is the most dangerous “temporary fix” we see.
- Using household oil or penetrating spray on nylon rollers: The solvent in some penetrating oils degrades nylon, causing the roller to crack. Once a nylon roller’s bearing fails, no amount of lubricant fixes it; it needs replacement.
Spring Problems: What the Sound and Sag Are Telling You
Springs are the most dangerous and most misunderstood component in the system. Here’s what you need to know about diagnosing them, not fixing them yourself.
Important safety note: Garage door torsion and extension springs are under enormous tension. Never attempt to replace, adjust, or remove a spring yourself. A spring that releases unexpectedly can cause serious injury or death. The information below helps you identify a spring problem so you can describe it accurately over the phone. Leave the repair to a trained professional.
There are two spring systems: torsion springs, which sit on a bar above the closed door, and extension springs, which run along the horizontal tracks on either side. Wayne Dalton makes a third, less-common design called the TorqueMaster, which houses the spring inside a metal tube above the door. You can’t inspect a TorqueMaster spring visually; diagnosing it requires listening for internal winding sounds and checking the door’s balance using the manual test above.
The average torsion spring in a Huntington Beach home is rated for about 10,000 cycles, which translates to 7 to 12 years depending on how many times you open and close the door daily. Homes with attached garages and multiple drivers often see spring failures closer to the 5-year mark because the door cycles three or four times a day.
Here’s what the symptoms point to:
- Door feels heavy when manually lifted, opener struggles, and the door stops halfway: A spring has broken or lost significant tension. If one of two torsion springs breaks, you’ll hear a bang and the door will feel twice as heavy. The remaining spring cannot counterbalance the full weight.
- Gap in the torsion spring coil: This is the definitive visual marker of a snapped spring. You’ll see a visible separation in the coil, usually about a quarter-inch wide, where the wire has separated.
- Door sags to one side when open or leans in the track: One spring has failed while the other still works, creating uneven lift. The cable on the strong side is now bearing more than its rated load.
- Noisy spring operation with grinding or squeaking when the door moves: The coils are binding against each other or the spring has lost its internal lubricant. In coastal air, springs rust faster. Surface rust alone doesn’t mean failure, but deep pitting weakens the wire.
On Craftsman and Raynor doors that are 15-plus years old, we often see paired springs where both should be replaced together. Replacing only the broken one leaves a new spring counterbalancing an old, fatigued one, and the imbalance returns within months.
Opener Problems: When the Motor Runs But the Door Won’t Move
This is the second most common call we get in Huntington Beach, after spring failures. The homeowner presses the wall button, hears the motor spin, and the door stays exactly where it is. Here’s what’s happening inside the opener.
The opener itself has several distinct mechanical parts that can fail independently. The motor is usually the last thing to go. More often, the failure is in the drive mechanism that connects the motor to the door.
- Stripped plastic drive gear (LiftMaster, Chamberlain, Craftsman chain-drive units): These openers use a plastic gear that meshes with a metal worm gear on the motor shaft. After years of daily cycles, the plastic teeth wear down until they can’t grip. You’ll hear the motor spin and a grinding or clicking sound, but the chain doesn’t move. The gear replacement is a standard repair, but it’s not a DIY job. The opener must be disassembled, and the gear is under spring pressure.
- Broken belt or slipped chain: Belt-drive openers can snap belts after heavy use. Chain-drive openers can develop slack so extreme that the chain jumps the sprocket. Look at the rail while the motor runs. If the belt or chain isn’t moving, this is your problem.
- Failed motor capacitor: The capacitor gives the motor its starting jolt. When it fails, the motor hums but doesn’t spin. You might smell a faint electrical odor. This is a common failure on older Genie and Craftsman openers in Huntington Beach garages that get hot in summer.
- Carriage disconnected or stripped: The carriage is the sliding piece that connects the drive mechanism to the door’s J-arm. If the emergency release was pulled and the carriage didn’t fully re-engage, the opener runs but the door doesn’t move. If the carriage’s internal teeth are worn, the drive mechanism spins inside it without engaging.
- Logic board failure: If the opener shows six blink codes (LiftMaster/Chamberlain) or behaves erratically (opens when you press close, stops responding to programming), the logic board has failed. Replacement boards are available, but on older units, replacing the entire opener is often the more economical long-term choice.
One diagnostic clue that’s easy to miss: an opener that works fine in the morning but refuses in the afternoon is often a heat-related problem. Huntington Beach garages without insulation can reach well over 100 degrees in summer, and older motor capacitors and logic boards fail under heat. If your opener is temperature-sensitive, note that when you call for service. It narrows the diagnosis faster than any other symptom.
The Photo Checklist: What to Document Before You Call a Repair Company
You can save a follow-up trip and get a more accurate phone estimate by photographing the right details before you call a garage door repair company in Huntington Beach. For How to Hire a Garage Door Contractor in Huntington Beach: A Step-by-Step Guide, start with these photos. Here’s what actually helps the technician diagnose from a photo.
- The entire door from inside the garage, closed. This shows the overall condition, panel alignment, and whether the door is a standard single or double width. Shoot from eye level, about 8 feet back.
- The spring system above the door. Capture the torsion spring bar or extension springs clearly. If there’s a visible gap in a spring coil, get a close-up. This tells the technician exactly which spring type and size they’ll need to bring.
- The opener motor housing from underneath. Photograph the brand name, model number, and any label. LiftMaster, Chamberlain, Genie, Craftsman, and Raynor all have different parts requirements. A clear photo of the model sticker means the truck can be stocked correctly on the first trip.
- The rail and drive mechanism. A photo of the chain or belt condition, along with the carriage, helps identify wear without a visual inspection.
- Any visible damage. Bent tracks, frayed cables, cracked rollers, or a dented panel. Close-up photos with good lighting are far more useful than a wide shot that hides the problem.
- The door width and height, measured. A standard single door is 8 or 9 feet wide. A double is 16 feet. Measuring removes guesswork when the technician is quoting a panel or cable replacement.
- The inside wall console. If the console has a blinking LED, photograph the pattern or note the number of blinks. This is the diagnostic code, and it’s as valuable to the technician as a photo of the opener itself.
Send these photos when you request a quote. A company that actually services the brands it says it does will want to see exactly what you have installed. If a company gives you a price without asking what kind of door or opener you have, that price is a guess, not a quote.
Common Mistakes to Avoid
- Adjusting the opener force settings to compensate for a spring problem. When the door gets heavy because a spring is failing, the opener’s force sensor trips more often. Cranking the force dial higher forces the opener to work against the full unsprung weight, burning out the motor. The spring needs replacement, not the force setting.
- Ignoring a noisy door because it still opens and closes. Noise is the earliest warning of mechanical wear. A squeal that’s ignored becomes a seized roller, which becomes a bent track, which becomes a larger repair. The $20 fix becomes a $400 fix because it waited.
- Spraying lubricant on a problem that needs parts. Lube quiets a binding spring or a seized roller for a day or two. It doesn’t replace the failing component. If the noise comes back within a week, you’ve diagnosed a mechanical issue, not a lubrication issue.
- Replacing the whole opener when the only issue is a stripped drive gear. The drive gear is a serviceable part on most LiftMaster, Chamberlain, and Craftsman openers. Unless the opener is very old or the motor is also failing, a gear replacement is significantly cheaper than a new opener. We’ve seen homeowners in Huntington Beach get quoted $600-plus for a new opener when a $180 gear replacement would have fixed the unit.
- Using the garage door as a back door for daily comings and goings. In Huntington Beach, where many homes use the garage as a secondary entrance, the door cycles far more often than the average. Every cycle brings spring failure closer. If you walk through the garage door multiple times a day, expect to replace springs more frequently than the 10-year average.
- Painting over rusted tracks and hardware to “protect” them. Paint can gum up the track channels and interfere with roller travel. Surface rust on mild steel tracks in Huntington Beach’s salt air is common and usually harmless. If the track is structurally rusted, it needs replacement, not paint.
See the difference
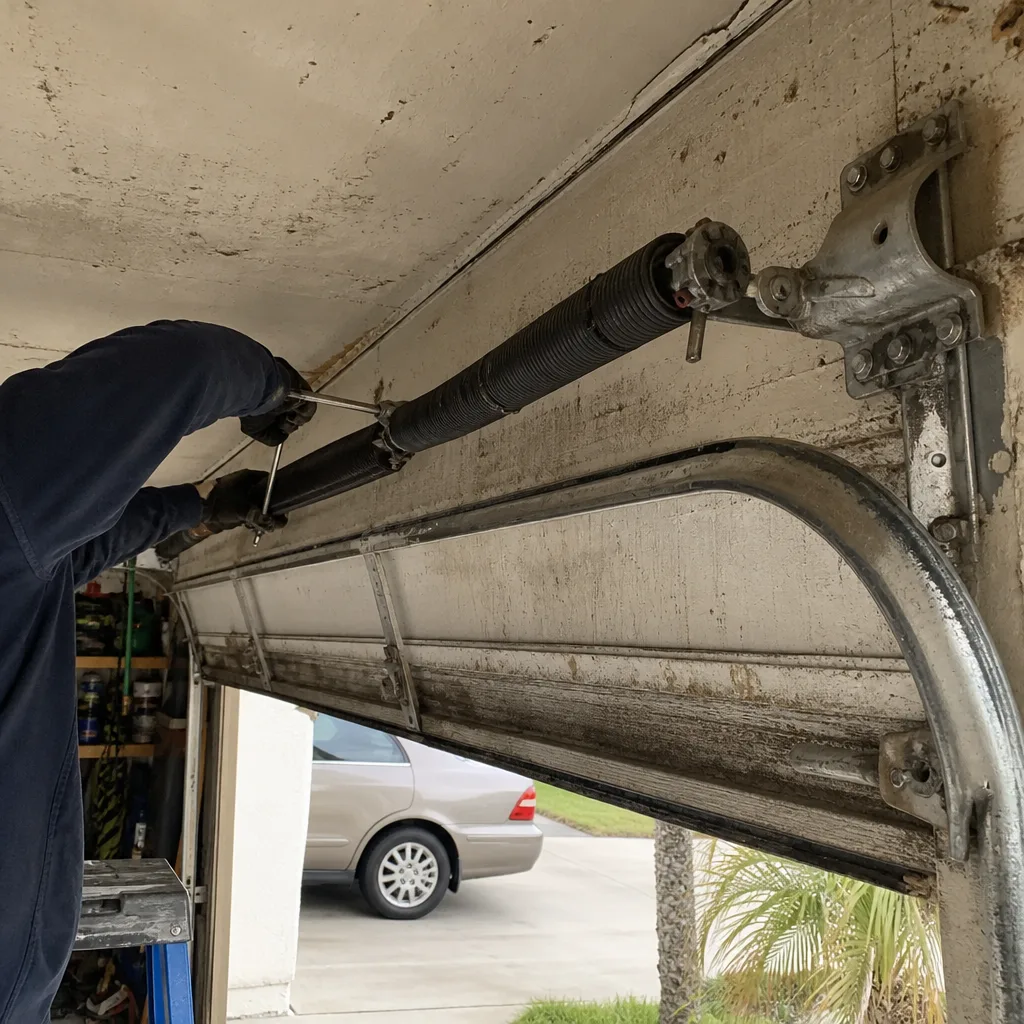 Before
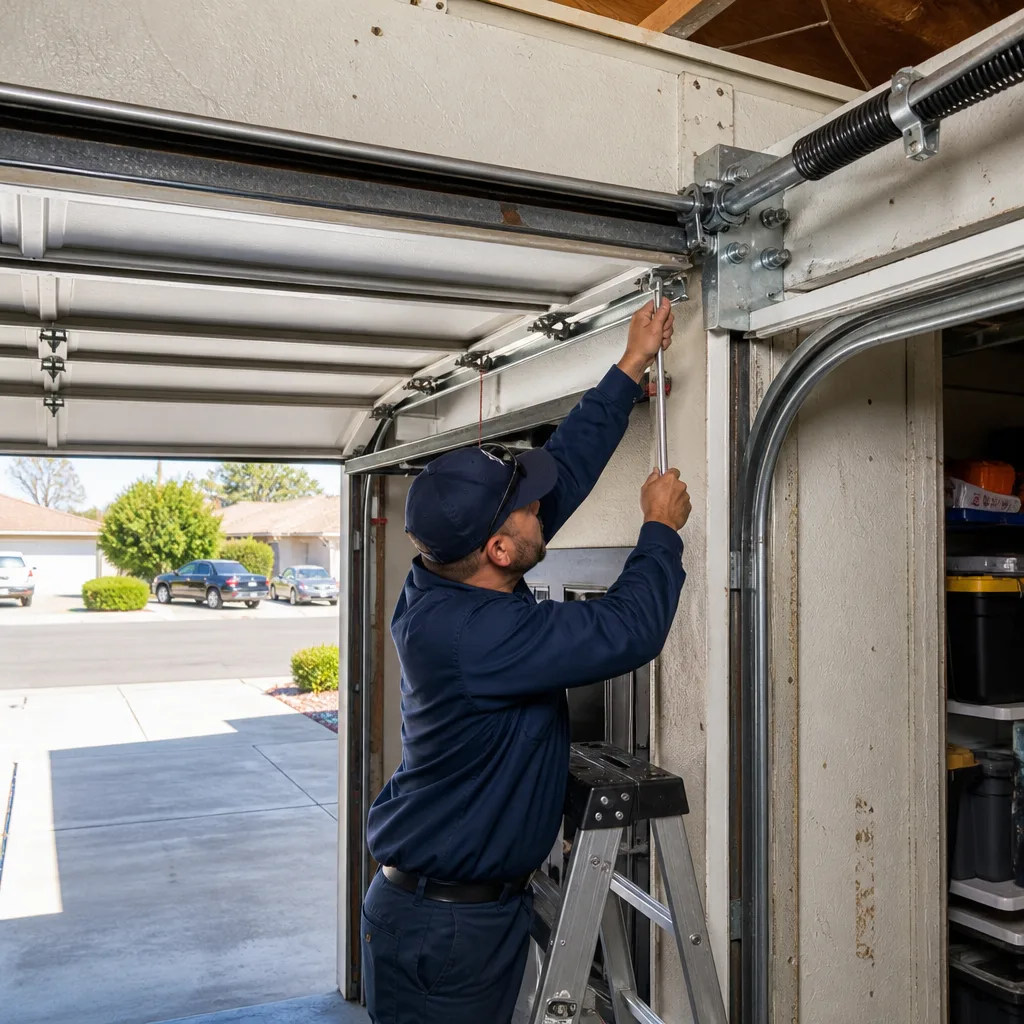 After
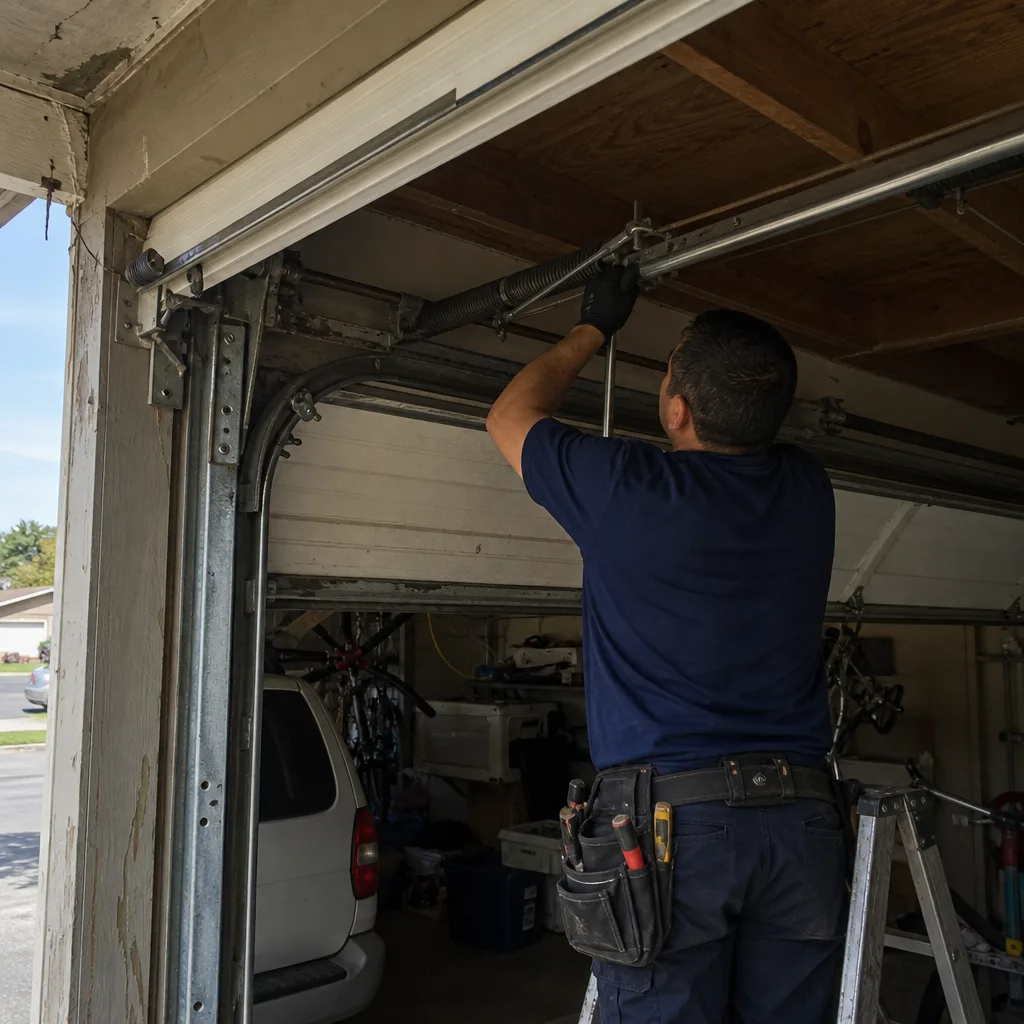 Before
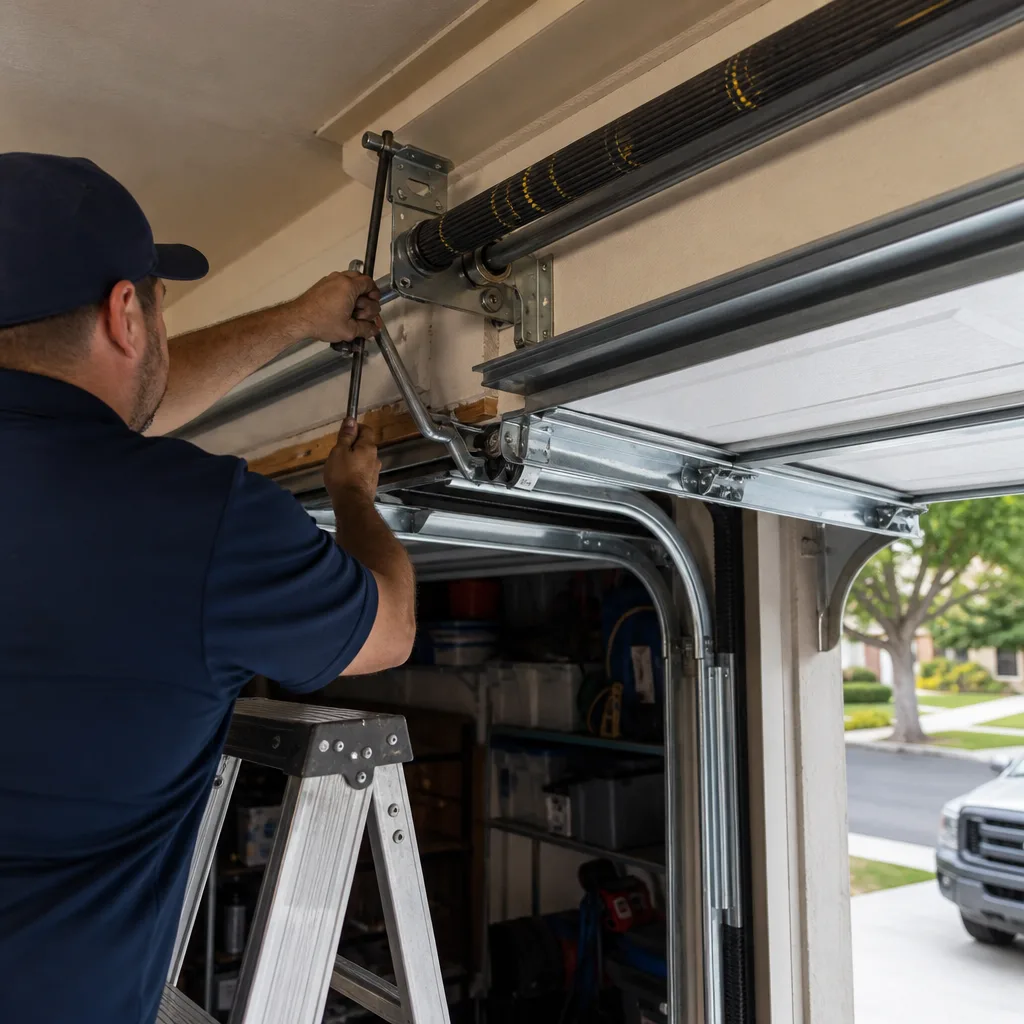 After
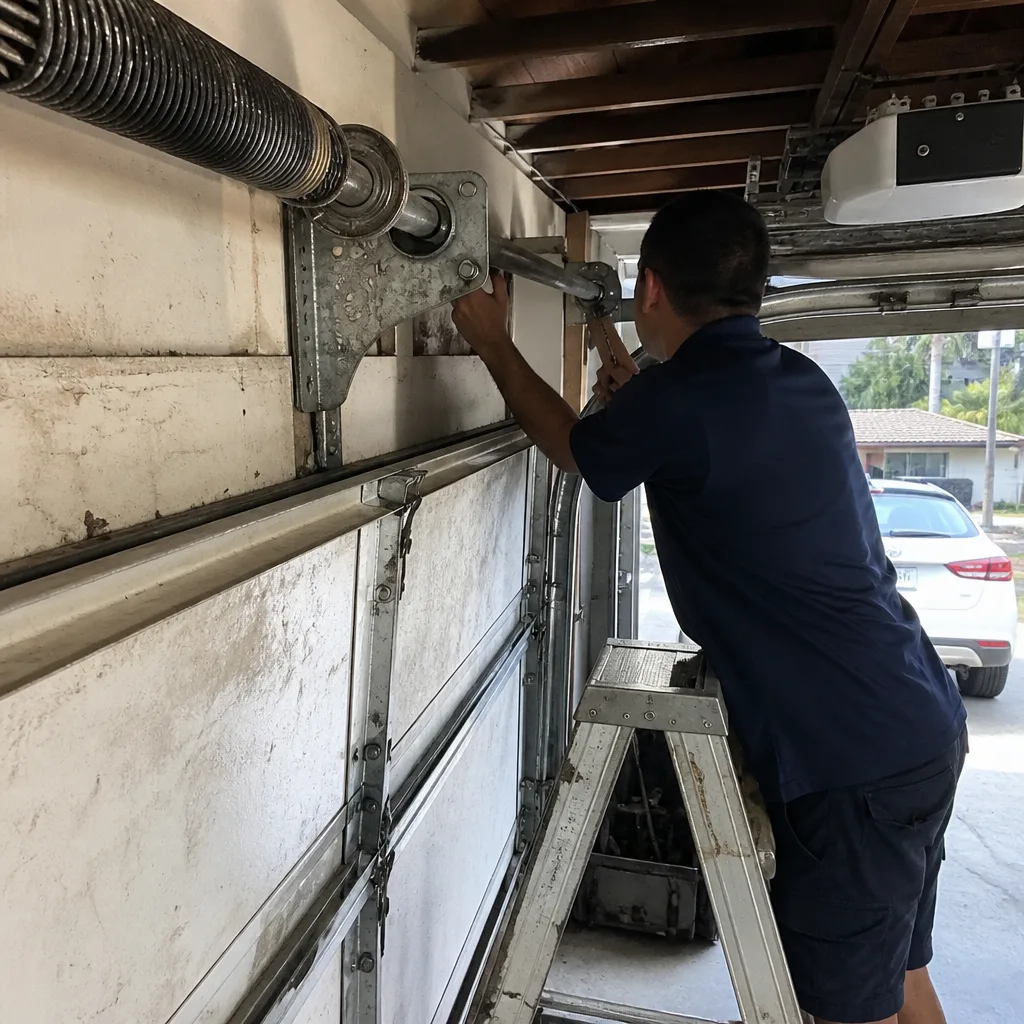 Before
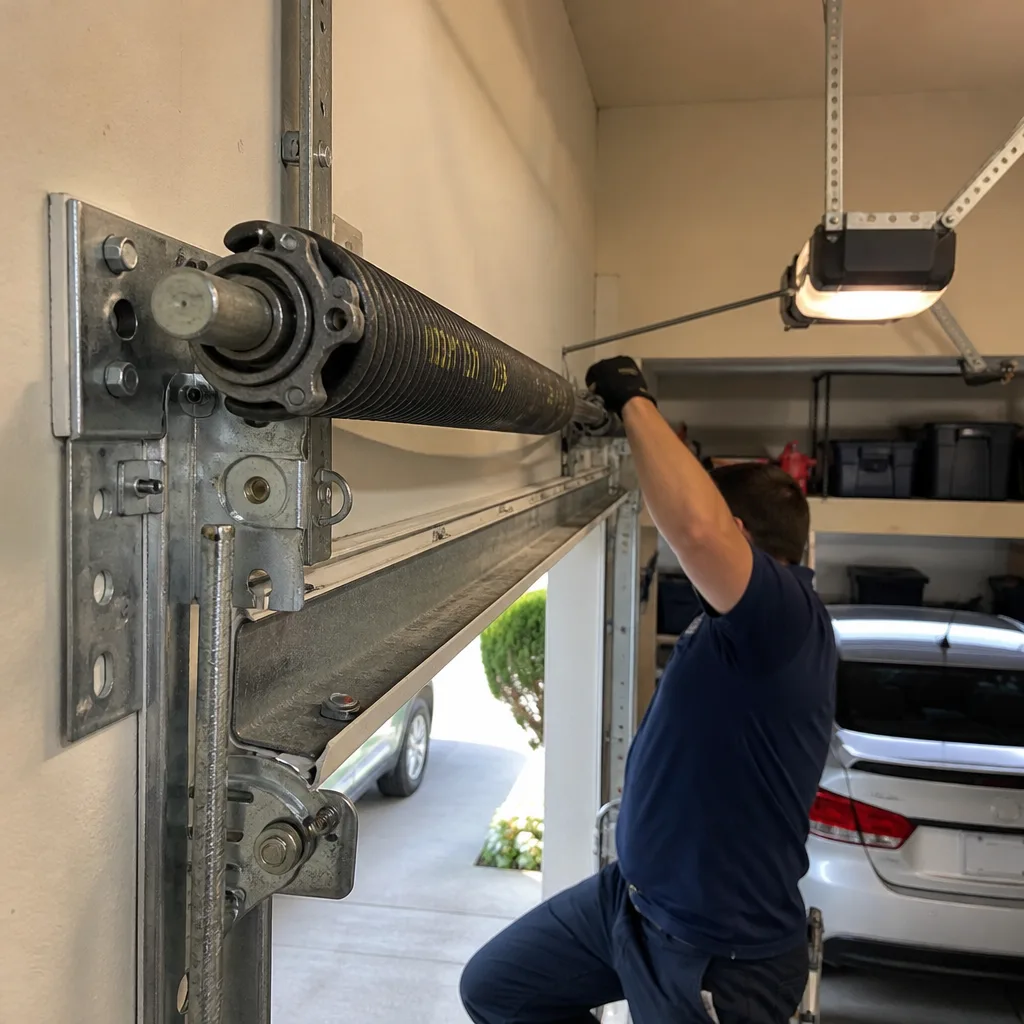 After
When to Call a Professional
Some repairs are genuinely DIY-appropriate: replacing a remote battery, wiping sensor lenses, clearing debris from the track, lubricating metal rollers. But the majority of garage door problems involve components under high tension or mains electrical connection, and those are not appropriate for a homeowner to repair. See Garage Door Warning Signs: A Huntington Beach Homeowner’s Reference Guide for what to watch for.
Call a professional when the door has a broken spring, a frayed cable, a door that won’t stay open manually, an opener that hums but won’t turn, or a door that sags visibly to one side. Also call if you’ve run through the troubleshooting steps above and still can’t isolate the problem. A good garage door specialist can diagnose most issues over the phone with the right photos and symptom description.
Corner Post Garage Door Repair offers free estimates in Huntington Beach. We’re trained on eight major brands including LiftMaster, Chamberlain, Genie, Clopay, Amarr, Wayne Dalton, Craftsman, and Raynor, so the diagnosis is based on what you actually have installed. Call (833) 620-3836 and a specialist will help you work through the symptom checklist before scheduling anything. For more on our services, visit the Corner Post Garage Door Repair home page.
Frequently Asked Questions
Most garage door repairs in Huntington Beach run between $125 and $350 depending on the component. A roller replacement typically costs $125 to $200, a cable replacement runs $150 to $250, and a spring replacement for a standard double door averages $250 to $400. Opener gear replacements range from $180 to $300. These are ballpark ranges for the Huntington Beach market; your exact quote depends on the door brand, spring size, and parts required. Call (833) 620-3836 with photos of your door and opener for a firm estimate, or see our garage door repair services for more detail.
The most common cause in Huntington Beach is salt film on the safety sensor lenses diffusing the infrared beam. Wipe both lenses with a dry microfiber cloth and test again. If the problem persists, the close-force setting may be too sensitive, or the sensors themselves are misaligned from being bumped. If your door has a LiftMaster or Chamberlain opener and the LED is blinking, count the blinks. Two blinks mean the sensor beam is blocked or misaligned.
Yes, for most spring, cable, and roller failures. These are the repairs we see most often in Huntington Beach, and our trucks are stocked for standard residential sizes across all eight brands we service. Same-day service depends on call volume and part availability, so call early if you can. For garage door opener repair, diagnosing the opener’s blink code over the phone before dispatch helps ensure the right parts are on the truck.
The price you’re quoted over the phone is the price you pay unless the technician finds additional mechanical problems during the repair. We quote based on the symptom description and photos you provide. If we find something unexpected, we explain it and get your approval before any additional work. No surprise charges, no upsell into work you didn’t ask for.
Sudden failures almost always point to a spring that snapped overnight, a GFCI outlet that tripped, or a safety sensor that got knocked out of alignment. Check the GFCI reset on the outlet the opener plugs into first. Then look at the spring above the closed door for a visible gap in the coil. If the spring is intact, run the manual operation test described above to isolate the problem.
We’re certified to work on eight of the most widely installed residential garage door and opener brands: LiftMaster, Chamberlain, Genie, Clopay, Amarr, Wayne Dalton, Craftsman, and Raynor. We work on your brand, not around it. For installation questions or new door options, see our garage door installation services.
The Bottom Line
Troubleshooting a garage door isn’t about guessing; it’s about isolating symptoms. The grinding noise going up points to the opener gear. The grinding noise going down points to the spring or a roller. The manual operation test tells you whether the problem is in the door, the opener, or the circuit. The blink codes tell you what the opener already knows. And the photos you take before calling a Huntington Beach repair company determine whether you get a real quote or a random number. Most importantly, springs and cables are not DIY repair territory. Match the symptom, document the details, and call a specialist who actually works on the brands in your garage. Explore more guides & resources to keep your door running smoothly. Built to last, not patched to last the week.
Written by the team at Corner Post Garage Door Repair, serving Huntington Beach since 2015.